
Are you tired of spending countless hours pulling weeds from your garden beds? Are you looking for a solution to minimize maintenance and keep your landscaping looking pristine?
Look no further than weed matting—a simple yet effective way to suppress weed growth and maintain the beauty of your outdoor space. In this blog, we’ll walk you through the step-by-step process of how to lay weed mat, ensuring a hassle-free gardening experience.
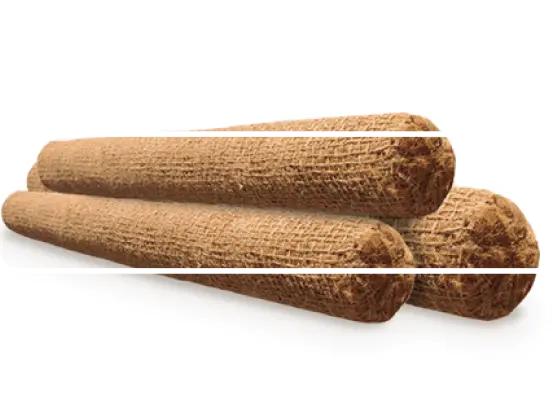
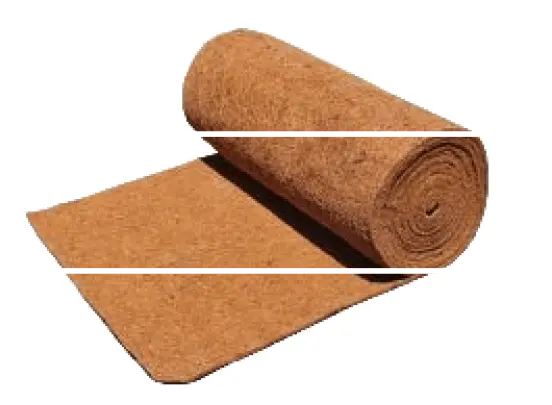
Before diving into the specifics of laying coir weed mat, let’s take a moment to understand what it is and how it works. Weed mat, also known as landscape fabric or weed barrier, is a permeable material designed to block sunlight and prevent weed seeds from germinating in the soil.
By creating a barrier between the soil and the surface, weed matting inhibits weed growth while allowing air, water, and nutrients to penetrate, promoting healthy plant growth.
The advantages of using weed mat in your garden or landscaping projects are numerous:
Weed Suppression: Weed matting effectively suppresses weed growth, reducing the need for manual weeding and saving you time and effort in the long run.
Moisture Retention: By preventing evaporation, weed mat helps retain moisture in the soil, ensuring that your plants remain adequately hydrated even during hot and dry periods.
Soil Protection: Weed mat acts as a protective barrier, preventing soil erosion caused by wind and water runoff, thus preserving the integrity of your garden beds and landscaping areas.
Enhanced Aesthetic: With weed mat in place, your garden beds will look neat and tidy, enhancing the overall aesthetic appeal of your outdoor space.
Reduced Maintenance: Perhaps the most significant benefit of using weed mat is the reduction in maintenance. With fewer weeds to contend with, you’ll spend less time pulling weeds and more time enjoying your garden.
Now that you understand the benefits of using weed mat, let’s dive into the step-by-step process of laying it in your garden:
Preparing the area, measure and cut, install edging, lay weed mat, secure in place, cut opening for plants, apply mulch, watering and monitoring are the basic steps to follow to install weed mats.
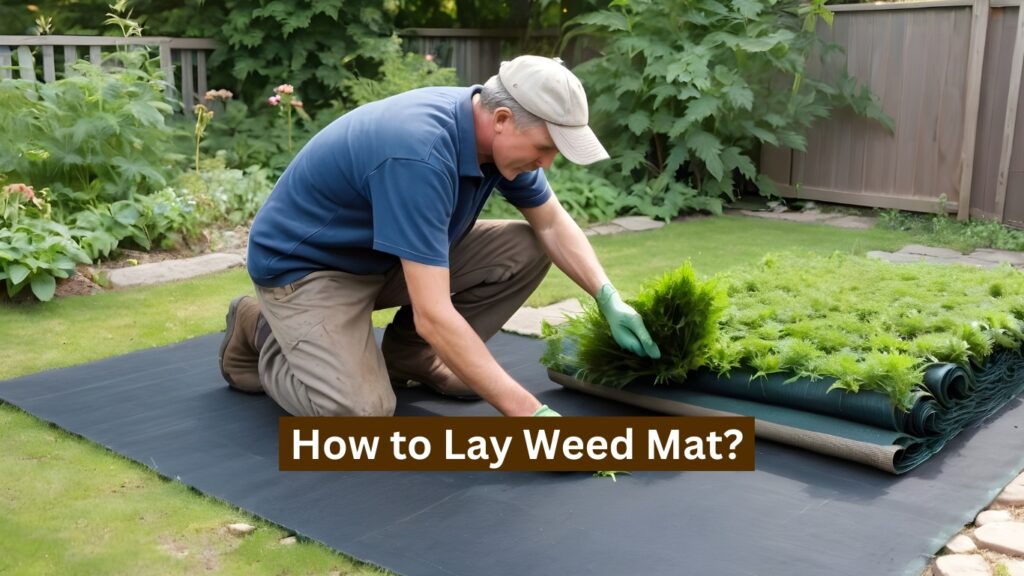
Start by preparing the area where you plan to lay the weed mat. Remove any existing weeds, rocks, or debris, and rake the soil to create a smooth and level surface. This will ensure proper installation and optimal performance of the weed mat.
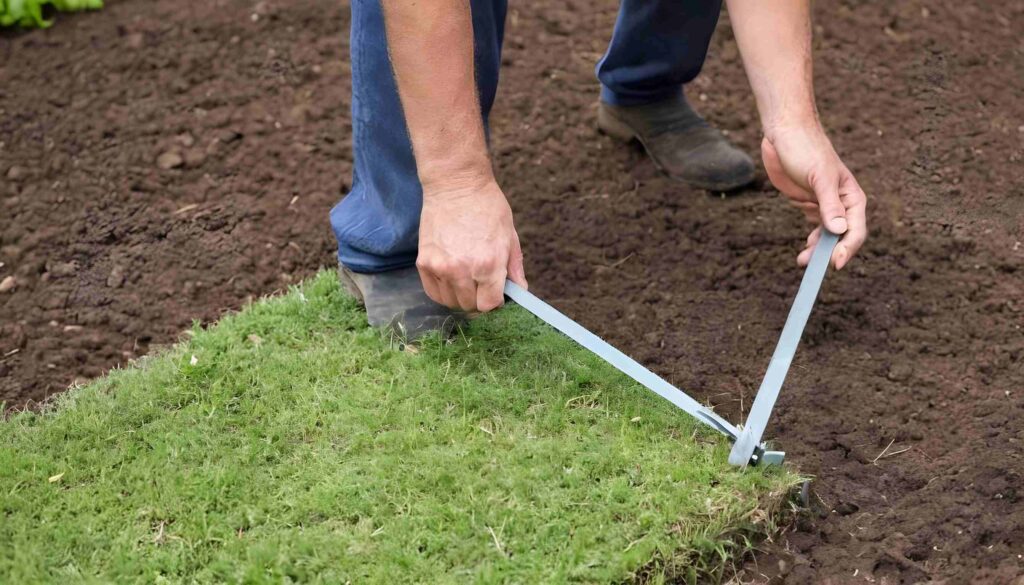
Next, measure the dimensions of the area and cut the coir weed mat to size using scissors or a utility knife. Be sure to overlap the edges of the weed mat by several inches to ensure complete coverage and prevent weeds from creeping through the gaps.
If you’re laying weed mat around the perimeter of your garden beds or landscaping areas, consider installing edging to hold the weed mat in place. This can be done using materials such as metal or plastic landscape edging, bricks, or rocks.
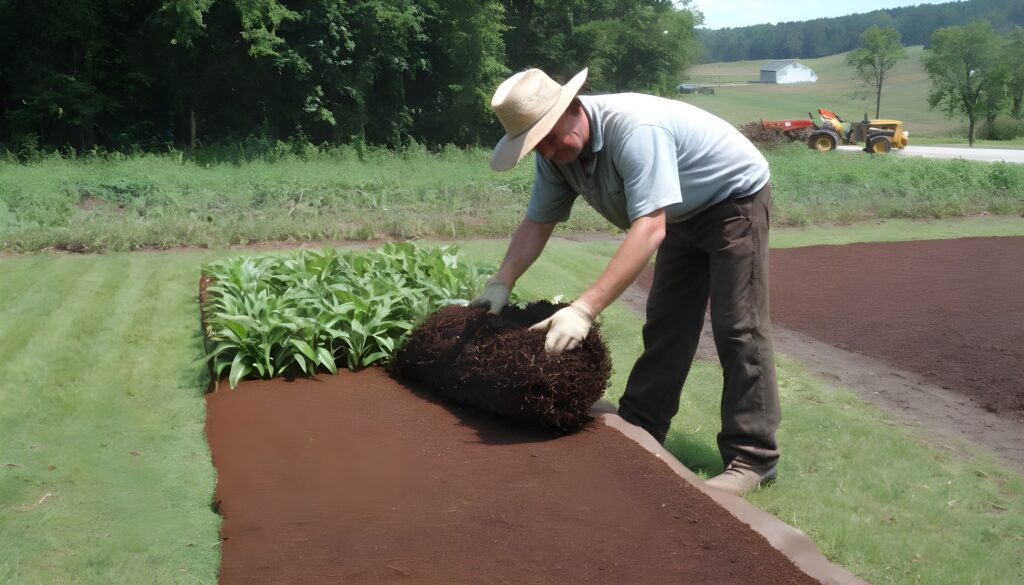
Once the area is prepared, lay the weed mat over the soil, ensuring that it lies flat and smooth. Smooth out any wrinkles or creases, and adjust the position of the weed mat as needed to achieve complete coverage.
To prevent the weed mat from shifting or blowing away, secure it in place using landscaping staples or U-shaped metal pins. Place the staples or pins every few feet along the edges and seams of the weed mat to hold it securely in place.
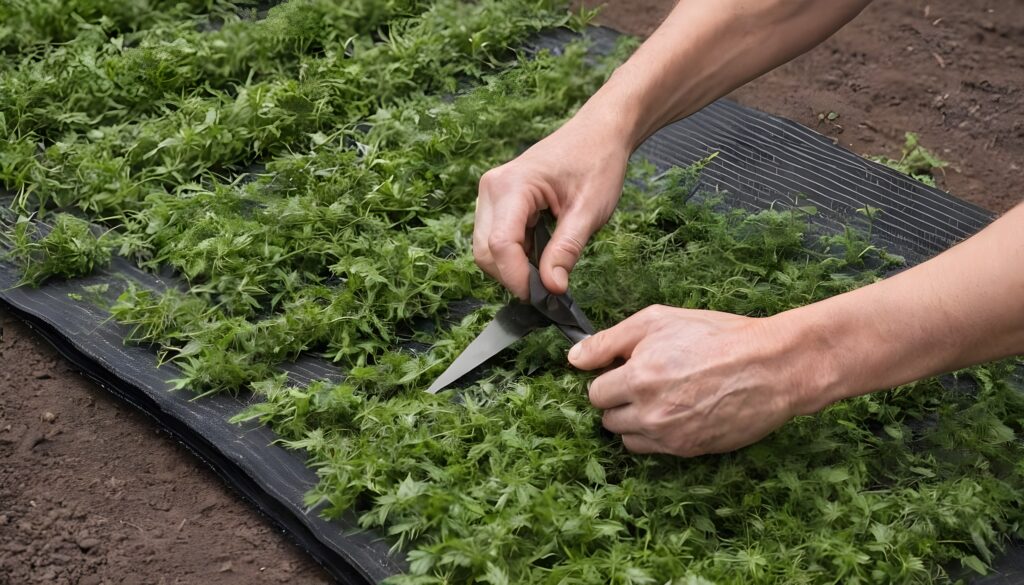
If you’re laying weed mat in garden beds or other areas where plants will be growing, you’ll need to cut openings in the weed mat to allow for planting. Use scissors or a utility knife to carefully cut an “X” or slit in the weed mat for each plant.
Once the weed mat is securely in place and the plant openings are cut, apply a layer of organic mulch, such as wood chips or bark, over the weed mat. This will help further suppress weed growth and improve the aesthetic of your landscaping.
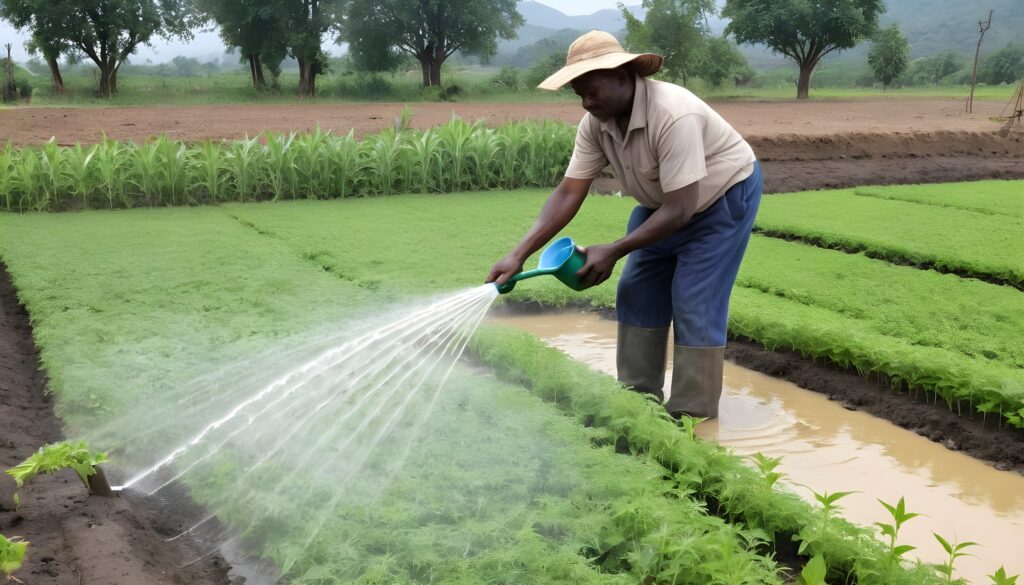
After laying the weed mat and applying mulch, water the area thoroughly to help settle the weed mat into place and activate the mulch. Ensure that the soil beneath the weed mat is adequately moistened to promote healthy plant growth.
Finally, monitor the area regularly to ensure that the weed mat is effectively suppressing weed growth and that plants are thriving. Keep an eye out for any signs of weeds poking through the weed mat, and remove them promptly to prevent them from spreading.
By following these simple steps, you can lay weed mat like a pro and enjoy a weed-free garden all season long. Say goodbye to endless hours spent pulling weeds and hello to a beautiful, low-maintenance outdoor space. With weed matting, you can spend less time on maintenance and more time enjoying the beauty of your garden. Coirmedia, one of the top coir product manufacturers offer the best quality weed mat for your gardens and plants. So why wait? Get started today and transform your outdoor space with weed matting!
How do you install a Weedmat?
To install a weed mat, start by preparing the area where you plan to lay it. Remove any existing weeds, rocks, or debris, and rake the soil to create a smooth and level surface. Next, measure the dimensions of the area and cut the weed mat to size. Lay the weed mat over the soil, ensuring it lies flat and smooth, and secure it in place using landscaping staples or metal pins. Cut openings in the weed mat for plants if necessary, and apply a layer of organic mulch over the weed mat to further suppress weed growth.
Do you need to remove weeds before laying weed mat?
Yes, it’s essential to remove any existing weeds before laying weed mat. Weeds can penetrate through the weed mat over time, so clearing the area of weeds beforehand will help ensure effective weed suppression. Rake the soil to remove any debris and create a clean, level surface before laying the weed mat.
What do you put over a weed mat?
Once the weed mat is laid and secured in place, it’s common to put organic mulch over the weed mat. This additional layer of mulch helps further suppress weed growth, improves the aesthetic of the landscaping, and helps retain moisture in the soil. Wood chips, coco coir chips, bark, or compost are popular choices for mulch to use over a weed mat. Also potting soil mix bag is also very useful to use along with weed mats.